This CargoWallet JavaScript SDK allows third-party integrations to embed a "Pay Now" button onto your Application, which users can interact with for making payments. The SDK provides three key methods:
CargoWallet.init: Initializes the SDK and renders the "Pay Now" button.
CargoWallet.pay: Prepares the Pay now payment by passing in the required details and redirect the current user to pay.
CargoWallet.createPayment: Prepares the Get paid payment and send notification to the payer for them to pay the transaction.
This document outlines the steps required to integrate the CargoWallet SDK into your application.
Step 1: Include the SDK
To begin, include the CargoWallet SDK by adding the following script tag in the section of your root HTML file:
Development version:
<script src="https://js.dev.wallet.cargoai.co/v1.0.js"></script>
Production version:
script src="https://js.wallet.cargoai.co/v1.0.js"></script>
This script will load the SDK, making the CargoWallet object available for use in your App.
Step 2: Create an HTML Element for the Wallet
In the of your HTML, create a container element that will display the "Pay Now" button. This is where the SDK will inject the button:
<div id="cargoai-wallet"></div>
Step 3: Initialize the SDK
After including the SDK and setting up the HTML element, initialize the SDK by calling CargoWallet.init in a script block. You need to pass your API key and webhook URL in the init method. The webhook URL will be used for payment status callbacks:
CargoWallet.init({
  api_key: "your-api-key",  // Replace with your API key (mandatory)
  webhook_url: "https://api.dev.cargo-wallet.com/test-callback",  // Replace with your webhook URL (optional)
  button_text: "Pay Now" // Replace with the text you want to appear on the button (optional)
});
This will display the button within the container element you created earlier.
Pay Now API
Step 4: Prepare the Payment
Before the user clicks on the "Pay Now" button, you need to call the CargoWallet.pay method to prepare the payment. This method takes payment details such as the amount, currency, invoice number, and payer information:
CargoWallet.pay({
  destination_pay_to: "xxxx-xxxx-xxxx",   // Payer wallet (mandatory)
  transaction_category: "INVOICE_NUMBER",  // Transaction category (mandatory)
  transaction_reference: "INV123456",    // Invoice number (mandatory)
  currency: "USD",  // Currency code (e.g., USD) (mandatory)
  amount: 100.00,   // Amount to be paid (mandatory)
  notes: "Random notes", // Note (optional)
  instant_payment_only: true // true if you only accept instant payment (optional)
});
Mandatory Fields: destination_pay_to, transaction_category, transaction_reference, currency, amount.
The button will not be active until CargoWallet.pay is called with all mandatory fields provided. If any mandatory field is missing, an error will be logged in the console indicating which parameter(s) are missing.
When the button is clicked, the user will be redirected to the cargoWallet app.
Example
You can test the functionality of the payment button and visualize its behavior by using the following JSFiddle link: https://jsfiddle.net/kjx0d63w/. This link provides a live demo environment where you can see how the payment button interacts within a webpage. Simply open the link, and you will be able to execute and observe the payment button's functionality in real time.
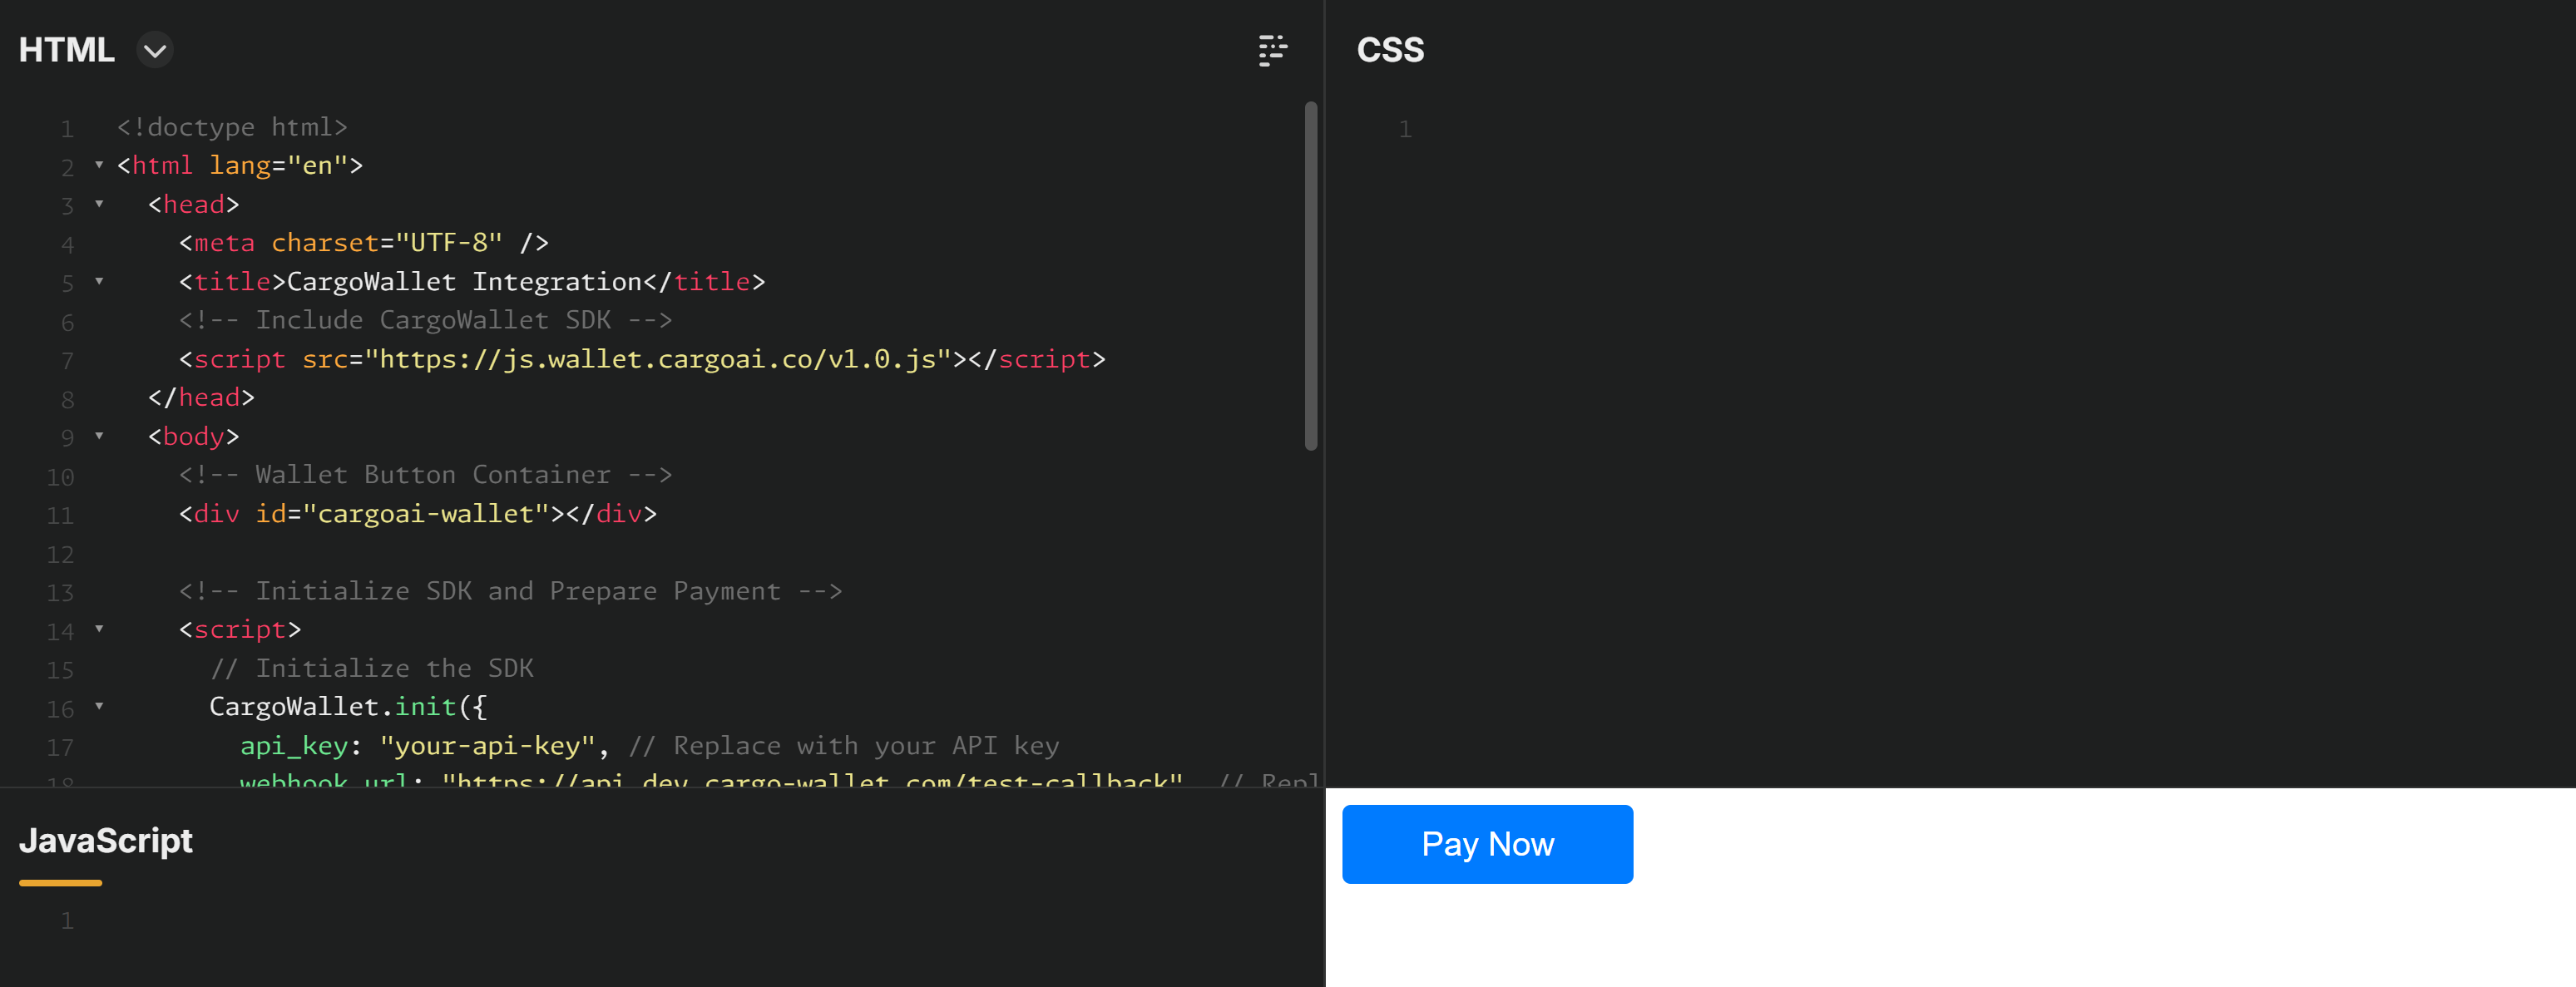
Here’s a full example of how the SDK can be used within an HTML document:
<!DOCTYPE html>
<html lang="en">
  <head>
    <meta charset="UTF-8" />
    <title>CargoWallet Integration</title>
    <!-- Include CargoWallet SDK -->
    <script src="https://js.wallet.cargoai.co/v1.0.js"></script>
  </head>
  <body>
    <!-- Wallet Button Container -->
    <div id="cargoai-wallet"></div>

    <!-- Initialize SDK and Prepare Payment -->
    <script>
      // Initialize the SDK
      CargoWallet.init({
        api_key: "your-api-key",  // Replace with your API key
        webhook_url: "https://api.dev.cargo-wallet.com/test-callback"  // Replace with your webhook URL
      });

      // Prepare the payment details
      CargoWallet.pay({
        destination_pay_to: "xxxx-xxxx-xxxx",   // Payer wallet
        transaction_category: "INVOICE_NUMBER",  // Transaction category
        transaction_reference: "INV123456",    // Invoice number
        currency: "USD",  // Currency code
        amount: 100.00,   // Amount to be paid
        notes: "Random notes", // Note (optional)
        instant_payment_only: true // true if you only accept instant payment (optional)
      });
    </script>
  </body>
</html>
Get paid API
Step 4: Prepare the Payment
Before the user clicks on the "Get Paid" button, you need to call the CargoWallet.create method to prepare the payment. This method takes payment details such as the amount, currency, invoice number, and payer information:
CargoWallet.createPayment({
  payee: "yyyy-yyyy-yyyy", // Payee wallet - the user requesting the payment (mandatory)
  payer: "xxxx-xxxx-xxxx",  // Payer wallet - the user being asked for payment (mandatory)
  transaction_category: "INVOICE_NUMBER",  // Transaction category (mandatory)
  transaction_reference: "INV123456",    // Invoice number (mandatory)
  currency: "USD",  // Currency code (e.g., USD) (mandatory)
  amount: 100.00,   // Amount to be paid (mandatory)
  due_date: "2024-11-14T23:59:59.000Z",  // Due date in ISO format (optional)
  instant_payment_only: true // true if you only accept instant payment (optional)
});
Mandatory Fields: payee, payer, transaction_category, transaction_reference, currency, amount.
The button will not be active until CargoWallet.createPayment is called with all mandatory fields provided. If any mandatory field is missing, an error will be logged in the console indicating which parameter(s) are missing.
When the user clicks on the button, there is no redirection. The payer will receive an email with instructions on how to pay.